


Part One: Wipe Them Out. All of Them.
Imperial Assault is a game of many facets. The clever use of command cards, brilliant use of tactics, and the vagaries of the ever-fickle dice all aid in deciding the victor of any individual match. However, before any of those factors can come into play, a player must build their list. There are hundreds of discussions taking place on forums, in online chat groups, and across gaming tables the world over to try to find the most effective squads in Imperial Assault. In my experience, each new unit is examined on its own, or compared to a close competitor. While it is possible to find excellent advice about the utility of individual units and how they fit with particular squads in any of these places, I have seen very little discussion of the theoretical classifications of units. I hope to help fill in this gap by expanding on the “Fighters, Grabbers, and Supports” metric that I laid out in my previous article, Planning for Victory. I will begin with a refresher on the definitions of these unit types, followed by a more detailed examination of each type in turn, looking at what subdivisions they may have, and what these different divisions mean for your squad building. Hopefully, these classifications can be as helpful to you as they have for me in putting together new squads that are focused enough to win, but flexible enough to change plans on the fly in the ever changing game of Imperial Assault.
Fighters, Grabbers, and Supports
In my previous article, I outlined the basic classification of units that I use when building a squad: Fighters, Grabbers, and Support. At the most basic level, the unit types do exactly what their titles would suggest:
Fighters kill things. The goal when using a fighter unit is to use the figure to score points off of defeating enemy figures. The hallmarks of Fighters are a good dice pool, good surges, and a decent defense. Almost all commonly played Fighters have at least two of these criteria, and the best have all three.
Grabbers grab things. The goal of Grabber is to make their points back in scoring objective points. A good Grabber has a low cost, decent speed, and perhaps an ability that aids in the scoring of objectives.
Supports aid the other two in accomplishing their goals. Some buff the attacks of the Fighters, while others grant extra movement to your Grabbers. While they generally don’t accomplish much on their own, no squad is complete without a Support or two.
Even just these distinctions are a great boon to list building, helping players narrow down exactly what they want their list to do. Once we start to look deeper, however, we find many layers within each classification. Fighters separate themselves into five distinct tiers, with several tertiary distinctions even beneath those tiers. I’ll spend the remainder of this article breaking down these tiers in loving detail.
Wipe Them Out. All of them.
The majority of the units currently released in Imperial Assault fall primarily under the Fighter umbrella, so it is by far the most expansive classification in the game. As I mentioned above, the fact that so many units are Fighters means that it is possible to divide the group into five tiers: Pawns, Soldiers, Shock Troops, Midrange, and Titans. These tiers separate from each other based primarily on their unit cost, by the quality of their attacks, and by the role they fill in the battle.

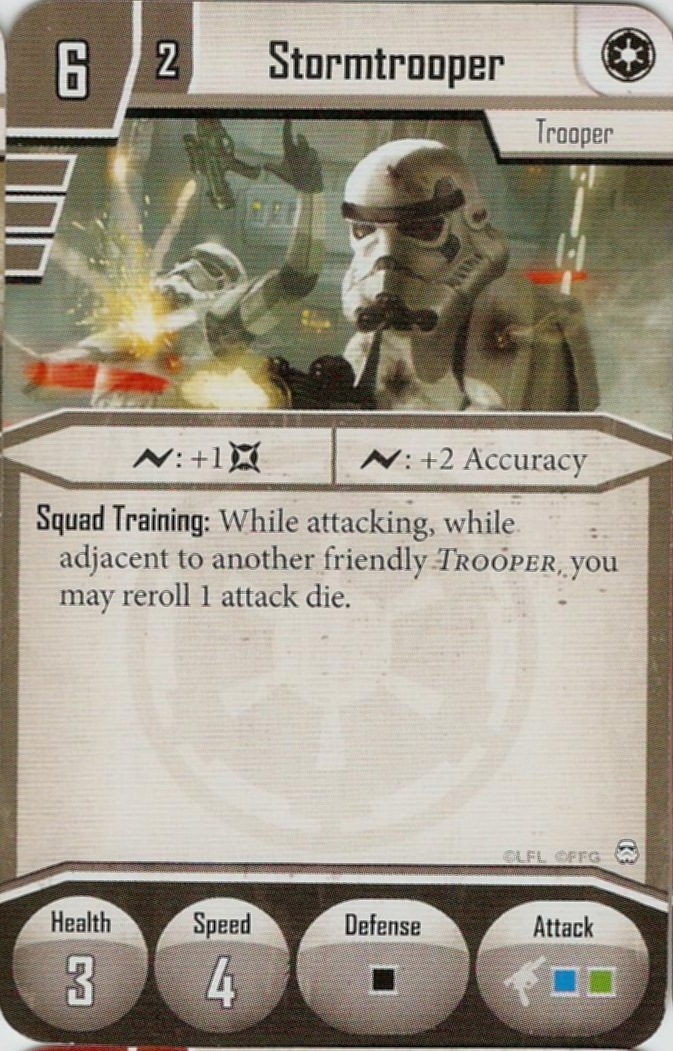
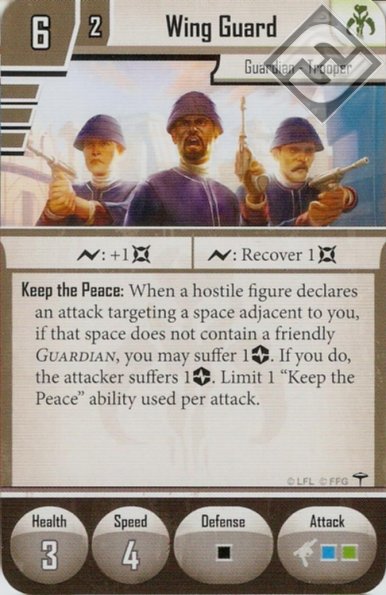
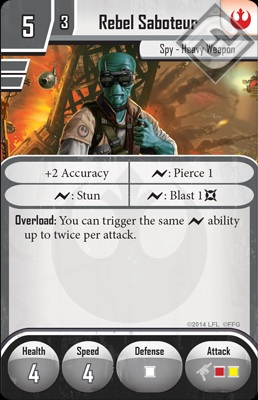
Pawns: The weakest of the Fighters, Pawns are those units that are intended to be Fighters, but just don’t have the firepower or the durability to pull it off. Pawns reside in the 2 to 3 point figure cost range. The most recognizable Pawns are regular Stormtroopers, although the Wing Guard and the regular Saboteurs also fall into the category, among others. You’ve probably noticed that all of these Pawns have one thing in common: they don’t see play at almost any level of Skirmish. This is because of the factors I mentioned above: outside of the Campaign, such units just don’t have the firepower or health to make a dent in an enemy force. Their only real use is to grab objectives, and they’re beat out of that by the dedicated Grabbers at the same point cost like Alliance Smuggler and Hired Guns.
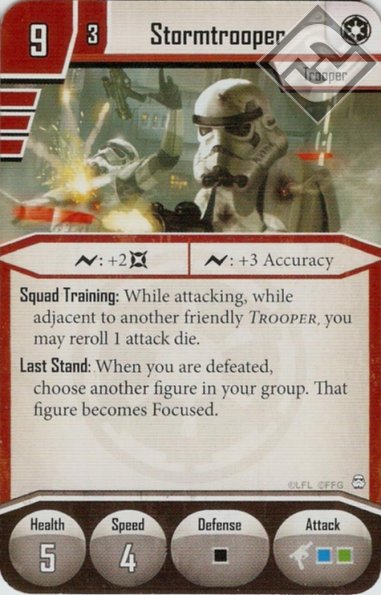
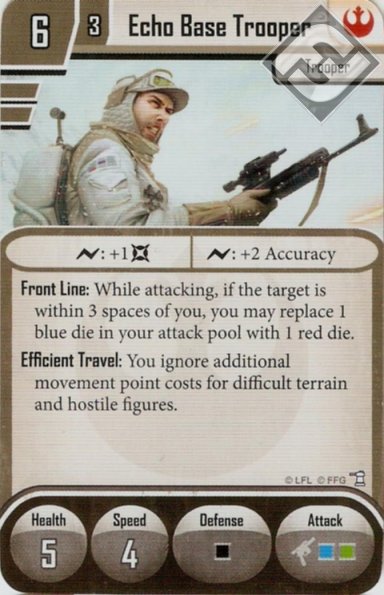
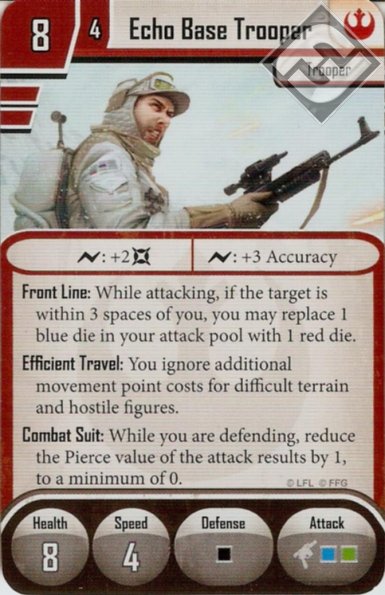
Soldiers: Unlike the Pawns, the Soldiers are actually equipped for their job. These are the units like Elite Stormtroopers and Regular Echo Base Troopers. Residing almost exclusively in the 3 point figure cost, the soldiers boast medium-strength 2 dice attacks, often with +2 damage surges but weaker die combinations. The problem with Soldiers is that, in a game so full of Shock Troops and Bruisers, the average 5 health of a Soldier just isn’t enough to keep up with the amount of damage they take before they can make their points back. Unfortunately, in the current metagame the Soldiers just don’t have the two of three characteristics that make a good Fighter: they often have good surges but mediocre dice and low health, which means that point-for-point you are much better off taking their bigger cousins, the Shock Troops.

Shock Troops: The Shock Troop tier, consisting of primarily 2 (and some 3) dice figures in the 4 and 5 figure cost range, comprises the bread and butter of many of the armies that you see on the table today. Units in this tier defined the metagame of Jabba’s Realm and continue to see frequent play in Heart of the Empire. While the dice pools may be similar, it is the defenses of the Shock Troops that separate them from the Soldiers. Residing in the 6-8 health range, a Shock Troop is much more likely to require two, or sometimes even three, attacks to remove from the board. This leads us into the primary weakness of the Shock Troops: they provide great power and flexibility, but once a few start to go down, your power on the field starts to rapidly diminish. Shock Troops are a broad enough category that we can bring even further separation into the mix. These units tend to fall into one of two categories: Strikers and Stalwarts.
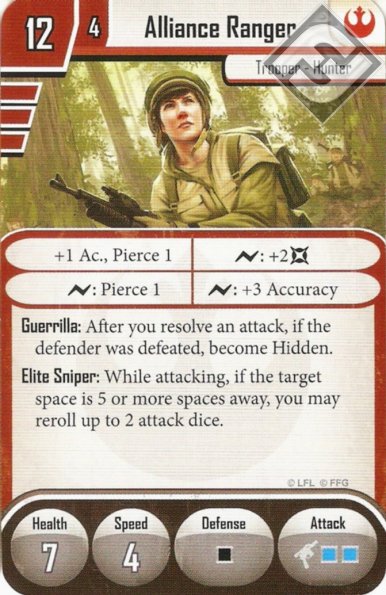
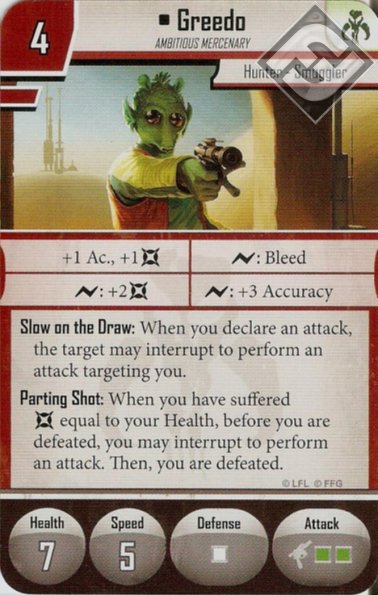
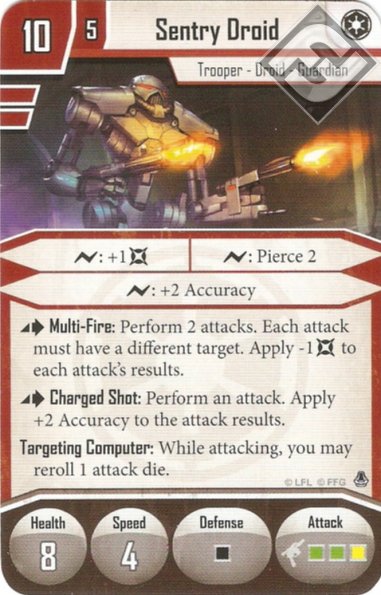
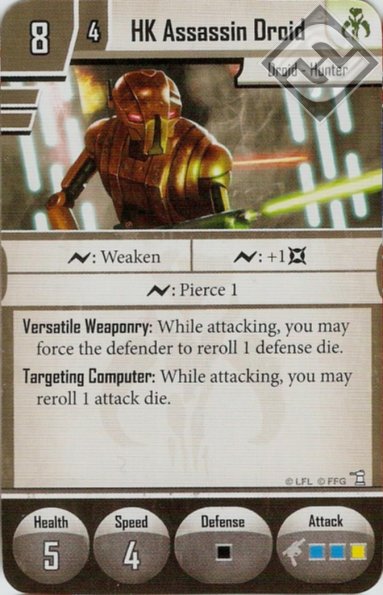
Strikers are generally “glass cannon” units that are dedicated to longer range and/or high damage spikes while attacking. Weequay, Jet Troopers, and Alliance Rangers (the units that defined the Jabba’s Realm metagame) all fall into this category. These figures have been such a staple for one reason: they are incredibly good at fighting, especially when backed up by solid Supports. At only 4 or 5 points, the powerful attacks of the Strikers makes it easy to recoup their points cost in dead enemy units. A pair of focused Weequays or a set of Jet Troopers within range to Fly By rightfully elicit fear for the damage they will soon be dealing. Other Strikers include Jyn Odan, Greedo, Sentry Droids, and HK Assassin Droids.
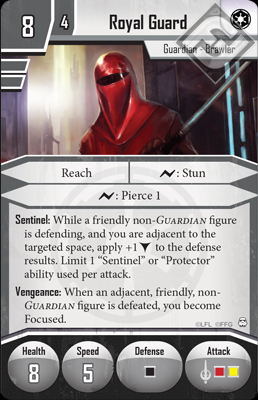
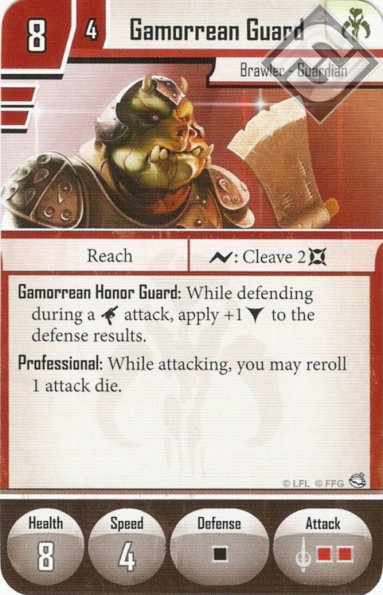
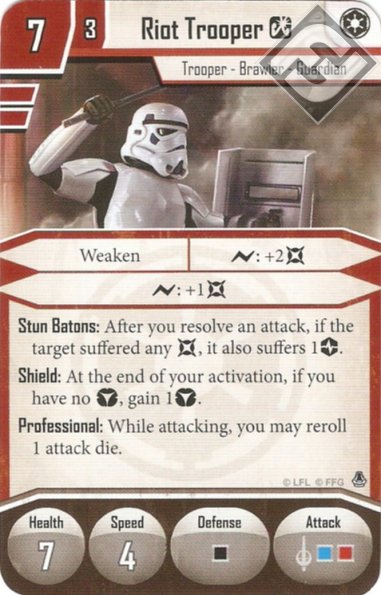
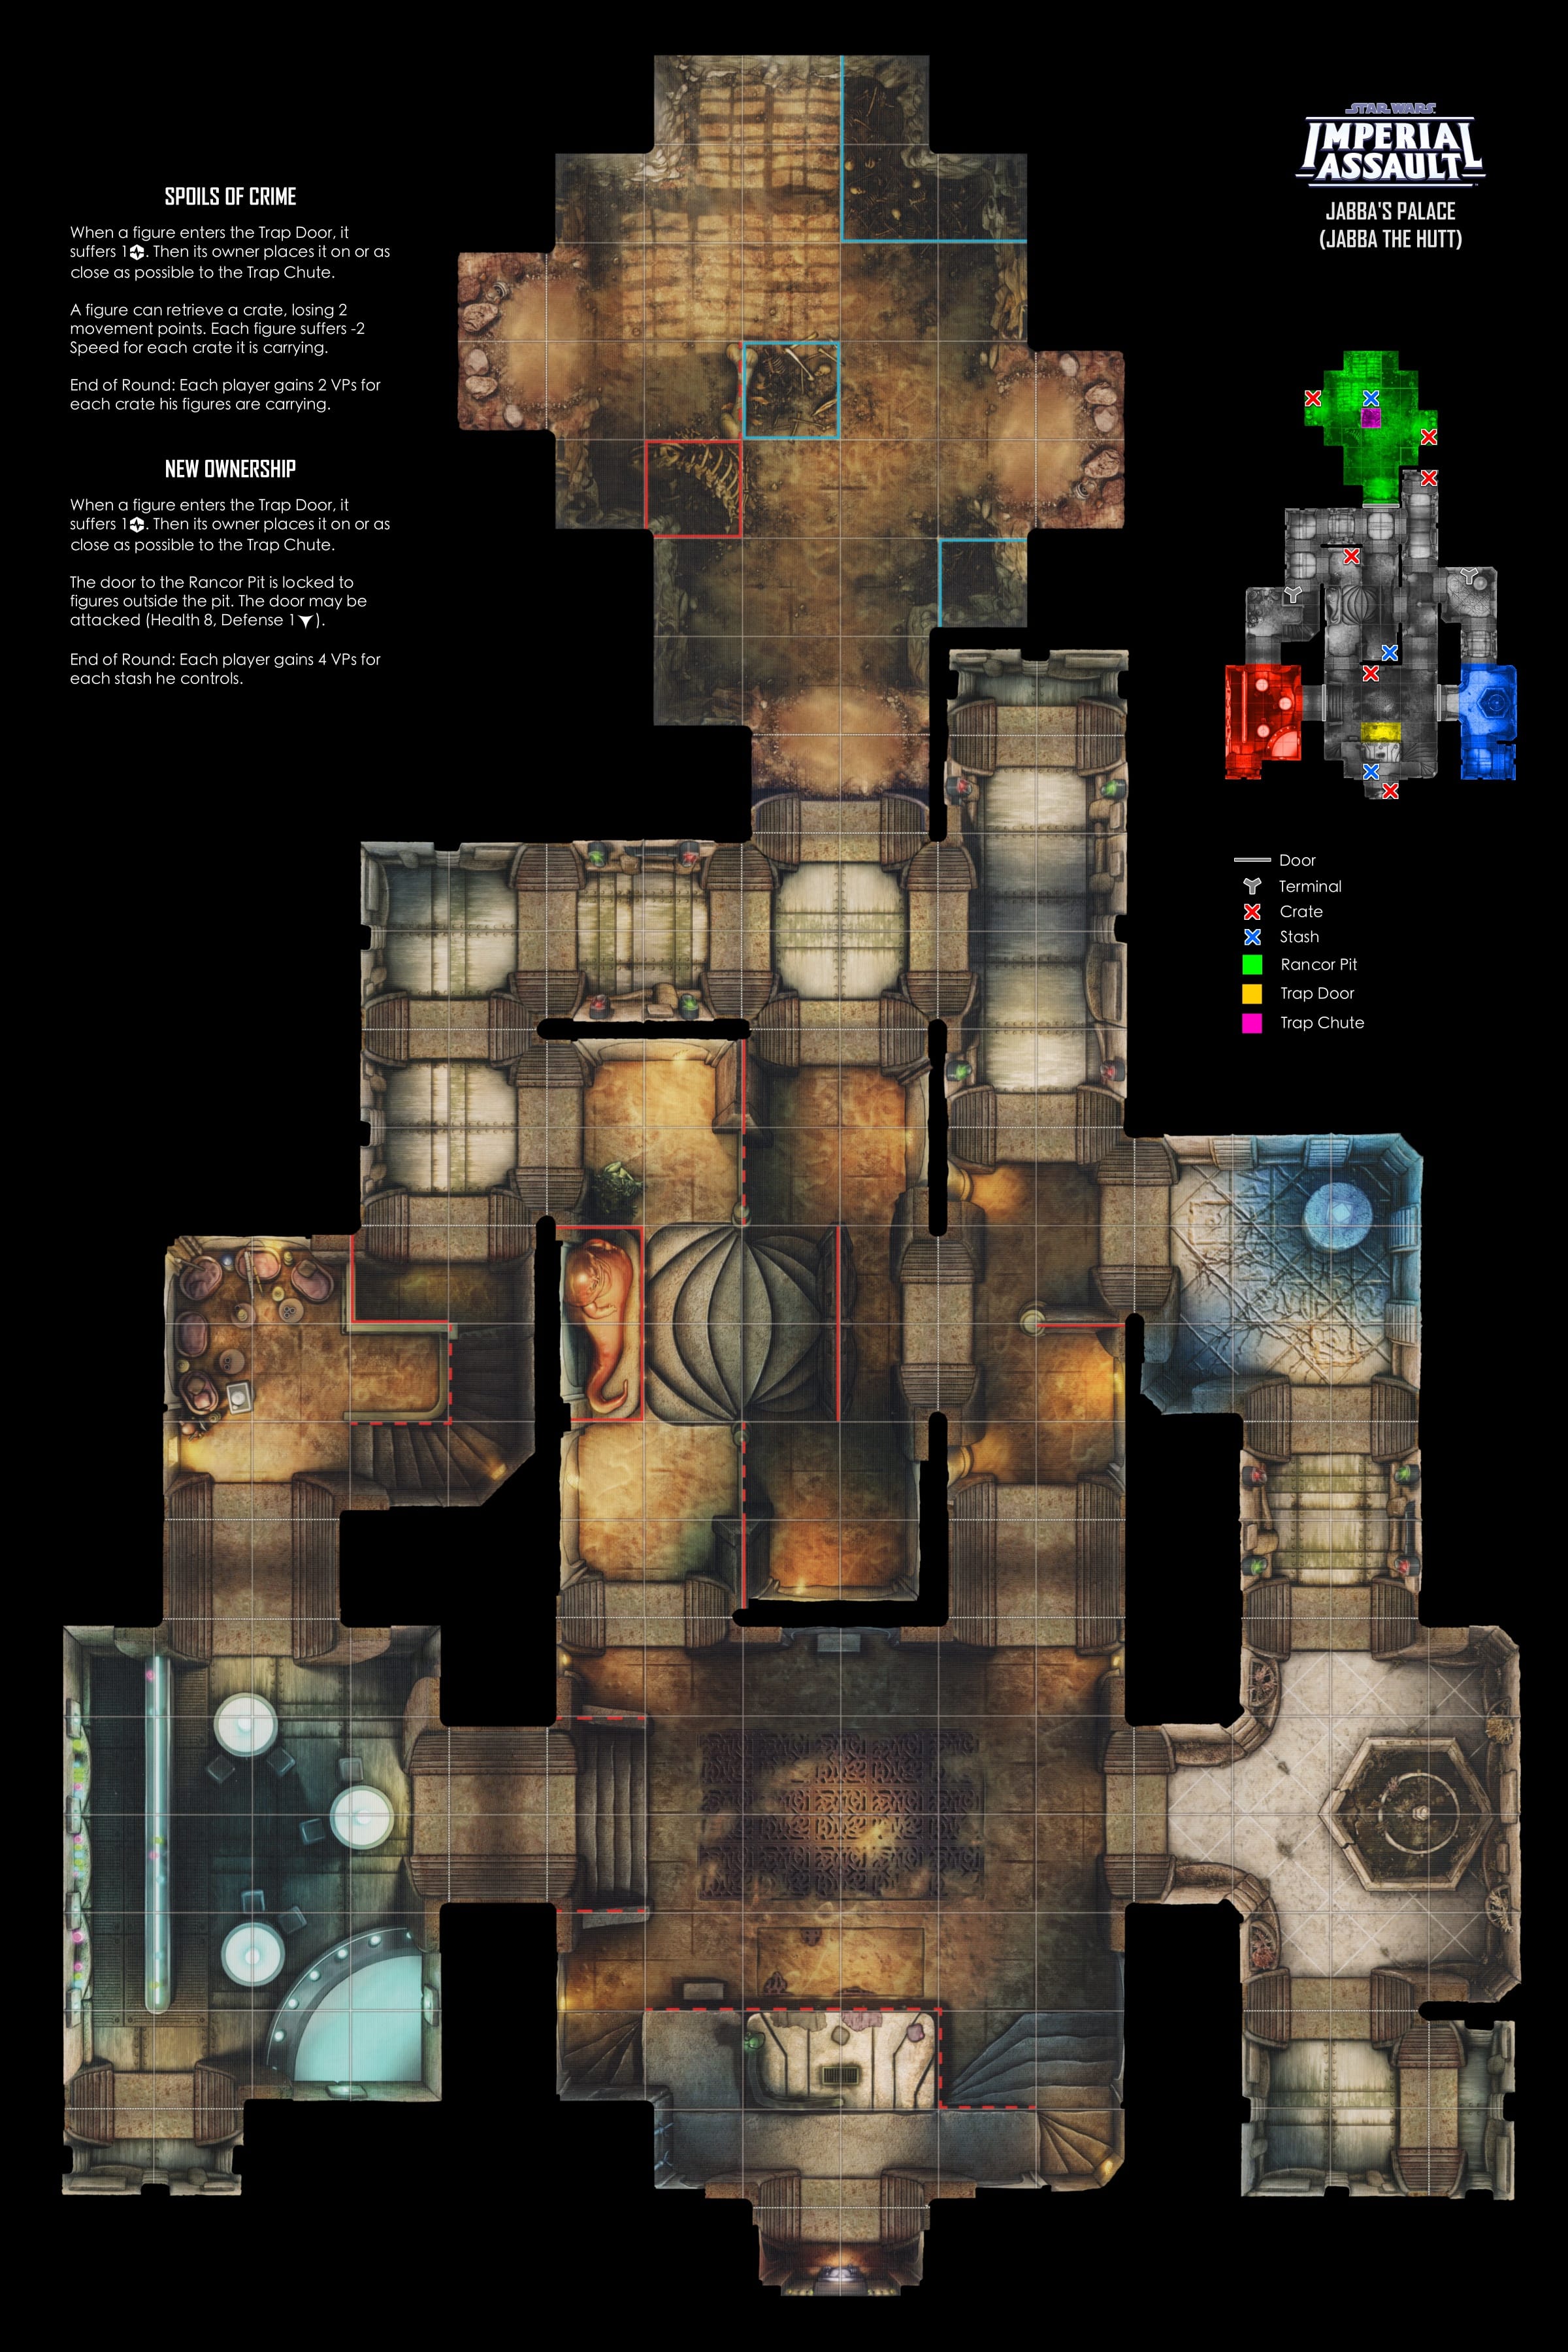
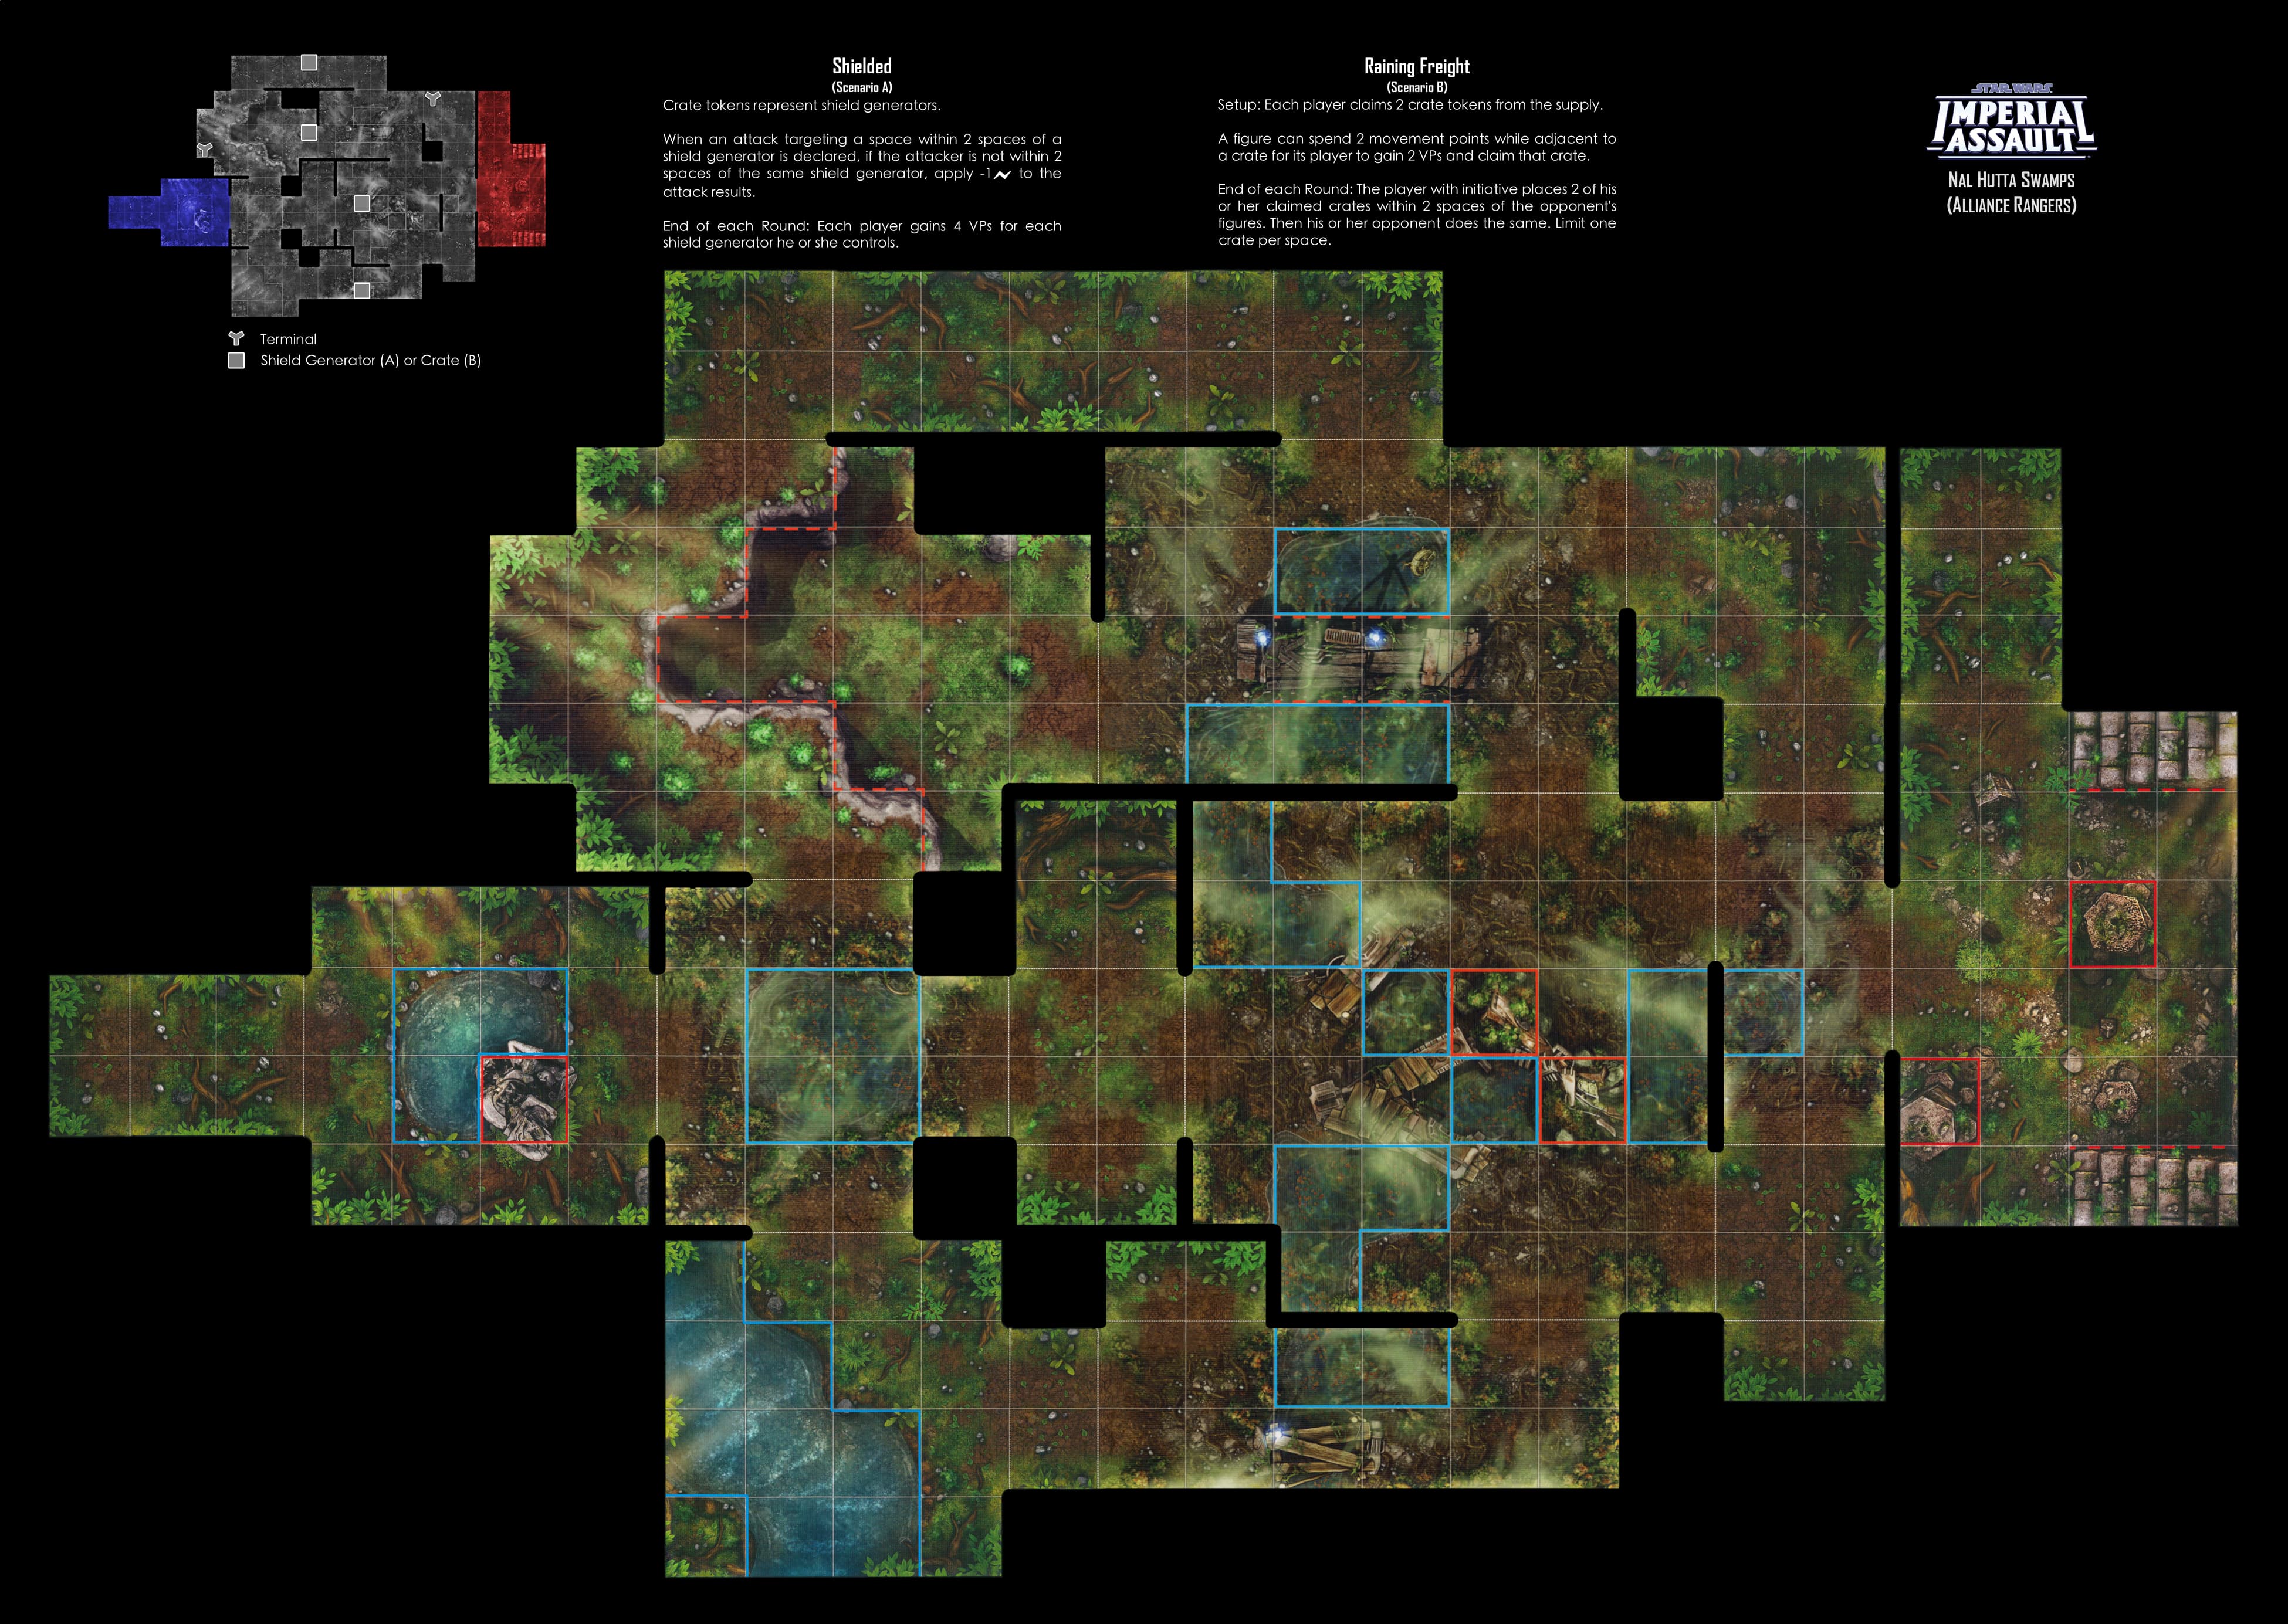
While some may scoff at my characterization of the Strikers as “glass cannons”, that label applies to them when they are compared with the Stalwarts. A Stalwart is a unit in the Shock Troop tier whose primary purpose is to be a tank. The once feared Royal Guard falls into this category, as do the Gamorrean Guards, Riot Troopers, and Elite Echo Base Troopers. All of these units have a few things in common: high health totals, defensive boosts, and short range attacks. The Stalwarts are the units that ride the line between Fighters and Grabbers, as the strong defenses make them prime candidates to move into the front line to take and hold centrally located objectives. For instance, these units are the one most likely to be sent to contest the stashes on Jabba’s Palace or the generators on Nal Hutta Swamps.

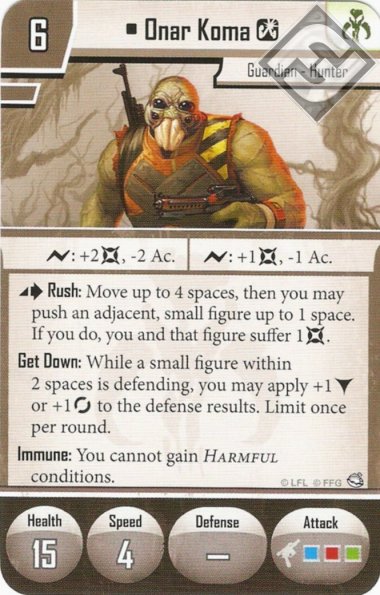
Midrange: Once we move into the figure cost range of 6 to 9 points, we stop seeing squad units with multiple figures per card. This is where we see the heroes and villains of the galaxy start to come out to play. This is by far the most diverse classification of Fighter, encompassing units from the close range powerhouse that is Onar Koma, to the supportive sniping supplied by Ko-Tun Feralo, to the massive firepower wielded by the AT-DP. All of these figures have in common the fact that they have 3 dice attacks, decent to great surges, and decent survivability. The problem with the Midrange units is that most units in this class only get to attack once per round, meaning that you have to be very precise in your usage of them, and you have to hope your opponents don’t roll that kriffing Dodge. While there is great diversity within this range, the figures within it generally fall into one of two categories: Bruisers and Commanders.
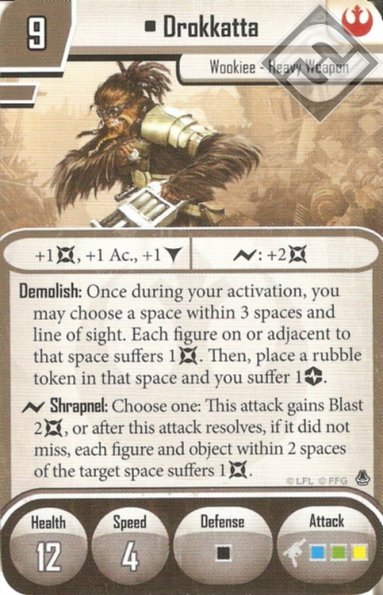
Bruisers are those figures that excel at combat. Since the release of Jabba’s Realm, Midrange Bruisers have been staple units in the Skirmish scene. My personal favorite figure in the game, Onar Koma, is a Bruiser, as are the Rebel Drokkatta and the Imperial Captain Terro. The Bruiser is the centerpoint of many lists, supplying a large portion of the offensive firepower and being able to provide a threat with which to distract the opponent. With proper Support, a well played Bruiser can turn the tide of a battle as they use their attacks to eliminate enemy units, often in only one or two attacks when dealing with a Shock Troop or a Soldier. The Bruiser is no slouch on the defense either, often boasting a double digit health stat, an innate defensive boost, or both.
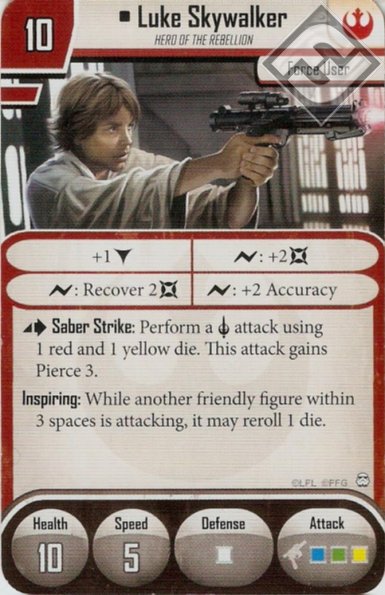
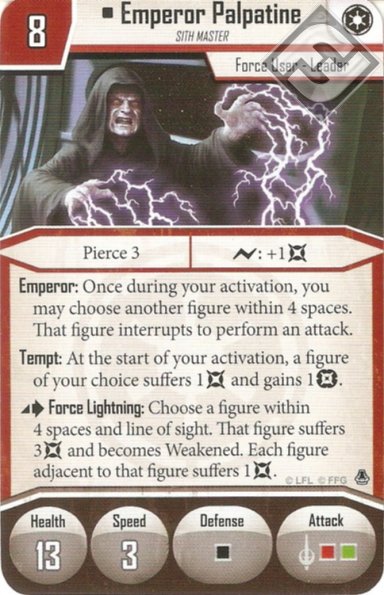
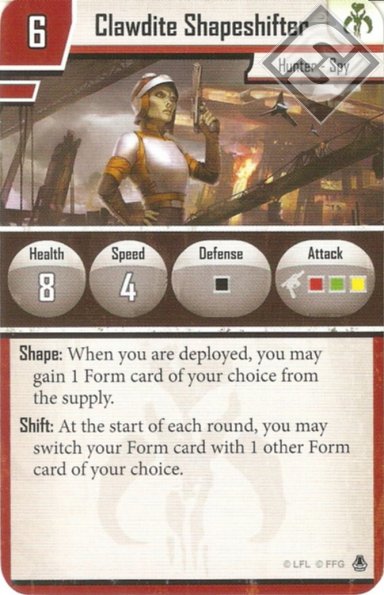
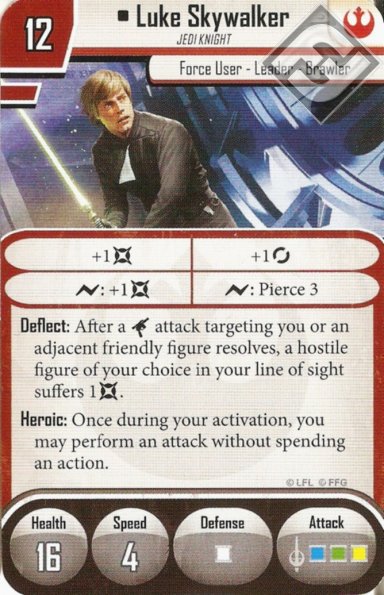
Commanders are the other section of Midrange Fighters. These units, debuted with Hero Luke Skywalker and have recently been reinforced with Ko-Tun, Emperor Palpatine, and the Clawdite Shapeshifter, are what happens when you combine the Fighter and the Support into a single unit. While they won’t do as much damage or take as much punishment as a Bruiser, the Commander is fully capable of holding their own on the battlefield while providing a qualitative edge to the rest of your army, either by aiding in their attacks or by getting even more attacks out of your allied figures.

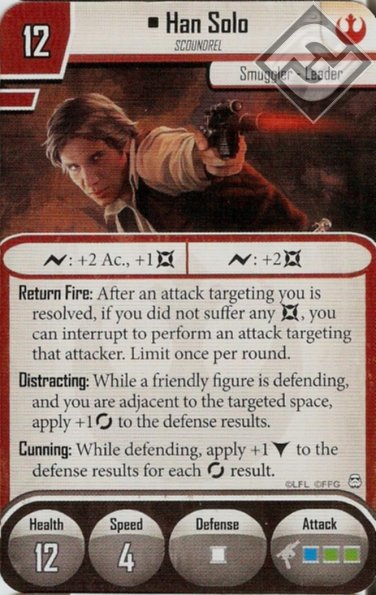
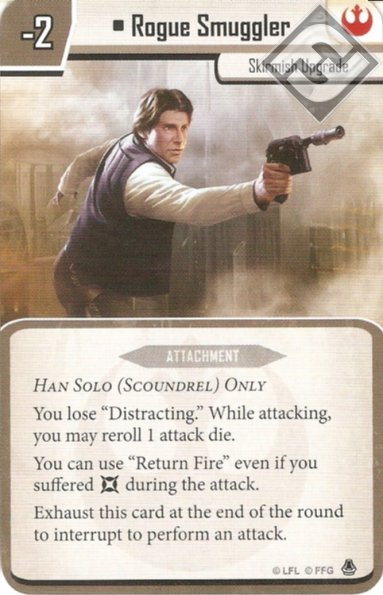
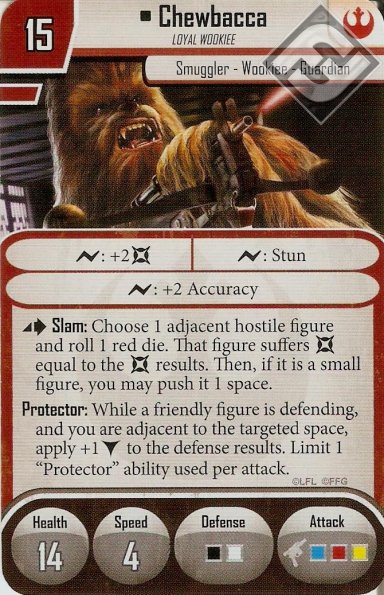
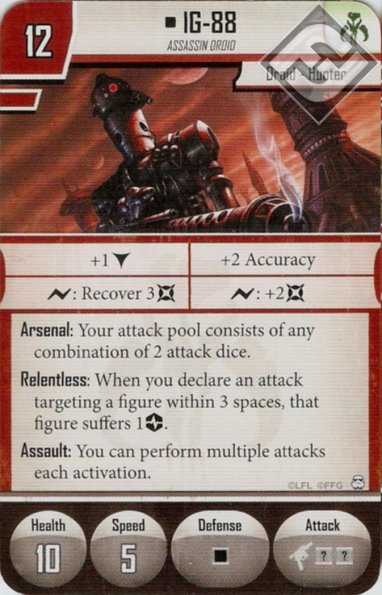
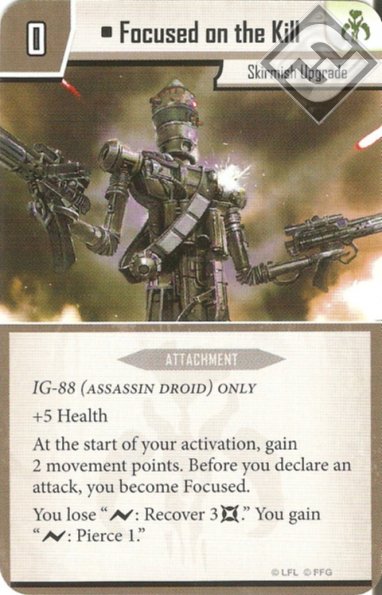
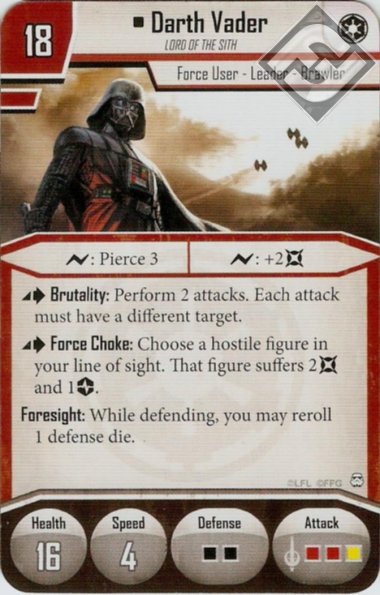
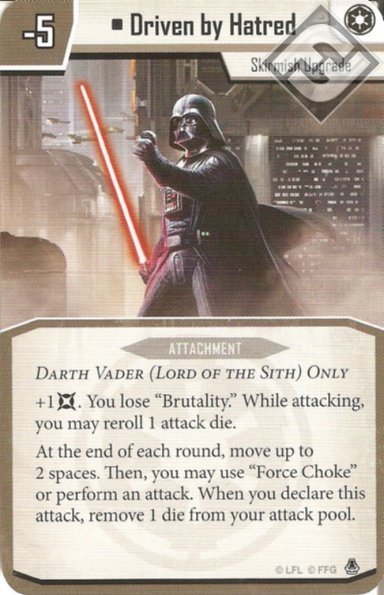
Titans: Once we move into the 10+ point range of Fighters, we start to see the Titans. These heroes and villains are one-figure wrecking balls that have multiple strong attacks and great defenses. As of this writing, only a few characters in this point range are considered playable at the highest levels: Han Solo with Rogue Smuggler, Chewbacca with Wookiee Avenger, Jedi Luke, IG-88 with Focused on the Kill, and Darth Vader with Driven by Hatred. Of course, for a majority of these figures, they only became Titans when their “fixes’ were released within the last wave or two.
While it may seem excessive to some players to lock up a quarter or more of your points in a single figure, a Titan is generally a safe investment in my experience. Boasting defensive boosts ranging from Han Solo’s “Cunning” to Darth Vader’s two black dice with a reroll, the Titans often take between 4 and 6 attacks to fully destroy, giving them a great staying power when compared to all other units. While the Titan is hanging around getting shot but not killed, they will be performing attacks with insane levels of power back at the opposing units, wreaking havoc. Additionally, most of them perform more than one attack in a round, making up for a lack of numbers with a sheer volume of fire. Unfortunately, the fact that so much of your squad is locked in one figure means that you take a massive hit to your combat effectiveness when that figure dies. This means that Titans have to be played very carefully, lest you lose them too early. Combine these traits with access to some of the best command cards in the game, and it is easy to see why the Titans hold their place at the top of the food chain of Imperial Assault figures.

All of this is great theory, but what does it mean in practice? Basically, it comes down to establishing mental shortcuts. In most Imperial Assault squads, the majority of the points are spent on Fighters of one stripe or another. By using these tiers, we can have a more critical eye when choosing what Fighters we want to include in a list, what uses they will be put toward, and how expendable each individual unit is. For instance, many players will use multiple units of Shock Troops and a Midrange or two backed up by Support units. For instance in Scum, this would be a list using Weequay Pirates, Gamorreans, Onar, Vinto, and the Rebel Care Package. Based on my classification scheme, this primary usage of Shock Troops backed up by a Bruiser will be able to put out an impressive amount of consistent damage in the first two rounds. However, this damage will quickly drop off as the Shock Troops are whittled away by the opposing team.
Contrast this build with another popular archetype from the past: Luke’s Finest. The initial version of this list combined Strikers (Rangers), Stalwarts (Echo Base Troopers) and a Titan (Jedi Luke) to great effect. When played right, this squad was capable of laying a withering fire down on the opponent, using Luke’s mobility and multiple attacks as clean up from the Rangers, and using the Echoes to hold objectives and draw off fire from Luke and the Rangers. Every Fighter is utilized to their greatest, specialized effect. However, the use of a Titan significantly raises the skill ceiling required to do excellently with this list, and the amount of points spent on Supports and Grabbers means that you will be unable to recover if you are unlucky on defense, as the majority of your offensive power is locked into two activations.
As we’ve seen in the above examples, the choices of what mixture of Fighters to use can greatly change the way a squad feels in play. While the Pawns and Soldiers have fallen out of favor, there are a great variety of units within the other tiers. At the time of this writing, the “metagame” feels very open, and it is possible to make competitive lists in every faction and in many archetypes. As we move forward into future releases, I hope to see units and upgrades that start to bring the long-lost Pawns and Soldiers back to our gaming tables.
This concludes my analysis of the Fighters of Imperial Assault. Join me soon for a follow-up look at the Grabber and Support units and the distinctions that can be made within them. If you have any comments, questions, or arguments, please feel free to leave a comment below or in any of the discussion threads for this article.
